docker单机安装
下载elasticsearch镜像
docker pull elasticsearch:8.2.0

root@空痕影的matebook:~# docker pull elasticsearch:8.2.0
8.2.0: Pulling from library/elasticsearch
e0b25ef51634: Pull complete
860caabdf263: Pull complete
9fbe6bc43ac5: Pull complete
9d4f6737f430: Pull complete
10f01841fd3e: Pull complete
dae1e3bba098: Pull complete
0a3767e40ef9: Pull complete
7d786dfd085d: Pull complete
7ce904f28ed3: Pull complete
Digest: sha256:6bd33a35f529d349d8d385856b138d73241555abf2851287c055665494680b8d
Status: Downloaded newer image for elasticsearch:8.2.0
docker.io/library/elasticsearch:8.2.0
启动容器
docker run -p 9200:9200 -p 9300:9300 -d --name es -e "discovery.type=single-node" -e "ES_JAVA_OPTS=-Xms512m -Xmx512m" f75ee9faf718

root@空痕影的matebook:~# docker run -p 9200:9200 -p 9300:9300 -d --name es -e "discovery.type=single-node" -e "ES_JAVA_OPTS=-Xms512m -Xmx512m" f75ee9faf718
61ef5be570d0a25a829bf3c6e4e5bfbcf27c6a3810a37fee4b639519d0b7bfac
root@空痕影的matebook:~# docker ps
CONTAINER ID   IMAGE          COMMAND                  CREATED          STATUS          PORTS                                            NAMES
61ef5be570d0   f75ee9faf718   "/bin/tini -- /usr/l…"   18 seconds ago   Up 16 seconds   0.0.0.0:9200->9200/tcp, 0.0.0.0:9300->9300/tcp   es
安装可视化es管理工具kibana
docker pull kibana:8.2.0

root@空痕影的matebook:~# docker pull kibana:8.2.0
8.2.0: Pulling from library/kibana
e0b25ef51634: Already exists
16168a059524: Pull complete
a7c5b97fb1b3: Pull complete
b4997d90f2a3: Pull complete
08edfcb77367: Pull complete
162b89073472: Pull complete
c27ed485e628: Pull complete
c8ec5118d07e: Pull complete
3098c58d1611: Pull complete
f0cd89b25439: Pull complete
90247f6ea1db: Pull complete
3bdda07522a2: Pull complete
36a9ec86c178: Pull complete
Digest: sha256:0ba5d3d3ddab3212eadd15bcc701c24a2baafe2f8bd7ced9d2a750cf227b8a06
Status: Downloaded newer image for kibana:8.2.0
docker.io/library/kibana:8.2.0

docker run -p 5601:5601 -d --name kibana -e "ES_JAVA_OPTS=-Xms512m -Xmx512m"  58a692253df4

root@空痕影的matebook:~# docker logs -fn 200 kibana
[2022-05-22T06:42:51.682+00:00][INFO ][plugins-service] Plugin "cloudSecurityPosture" is disabled.
[2022-05-22T06:42:51.725+00:00][INFO ][plugins-service] Plugin "metricsEntities" is disabled.
[2022-05-22T06:42:51.842+00:00][INFO ][http.server.Preboot] http server running at http://0.0.0.0:5601
[2022-05-22T06:42:51.896+00:00][INFO ][plugins-system.preboot] Setting up [1] plugins: [interactiveSetup]
[2022-05-22T06:42:51.898+00:00][INFO ][preboot] "interactiveSetup" plugin is holding setup: Validating Elasticsearch connection configuration…
[2022-05-22T06:42:51.942+00:00][INFO ][root] Holding setup until preboot stage is completed.


i Kibana has not been configured.

Go to http://0.0.0.0:5601/?code=376144 to get started.
创建网络环境,并将两个应用配置
root@空痕影的matebook:~# docker network create elk
b3027e542d18b7e53ee658a16a064c16f6bf1087a8101e5f4cee97e8810ff9ef

root@空痕影的matebook:~# docker network connect elk kibana
root@空痕影的matebook:~# docker network connect elk es
配置kibana环境与账号
首次进入的时候需要我们去es中获取token.
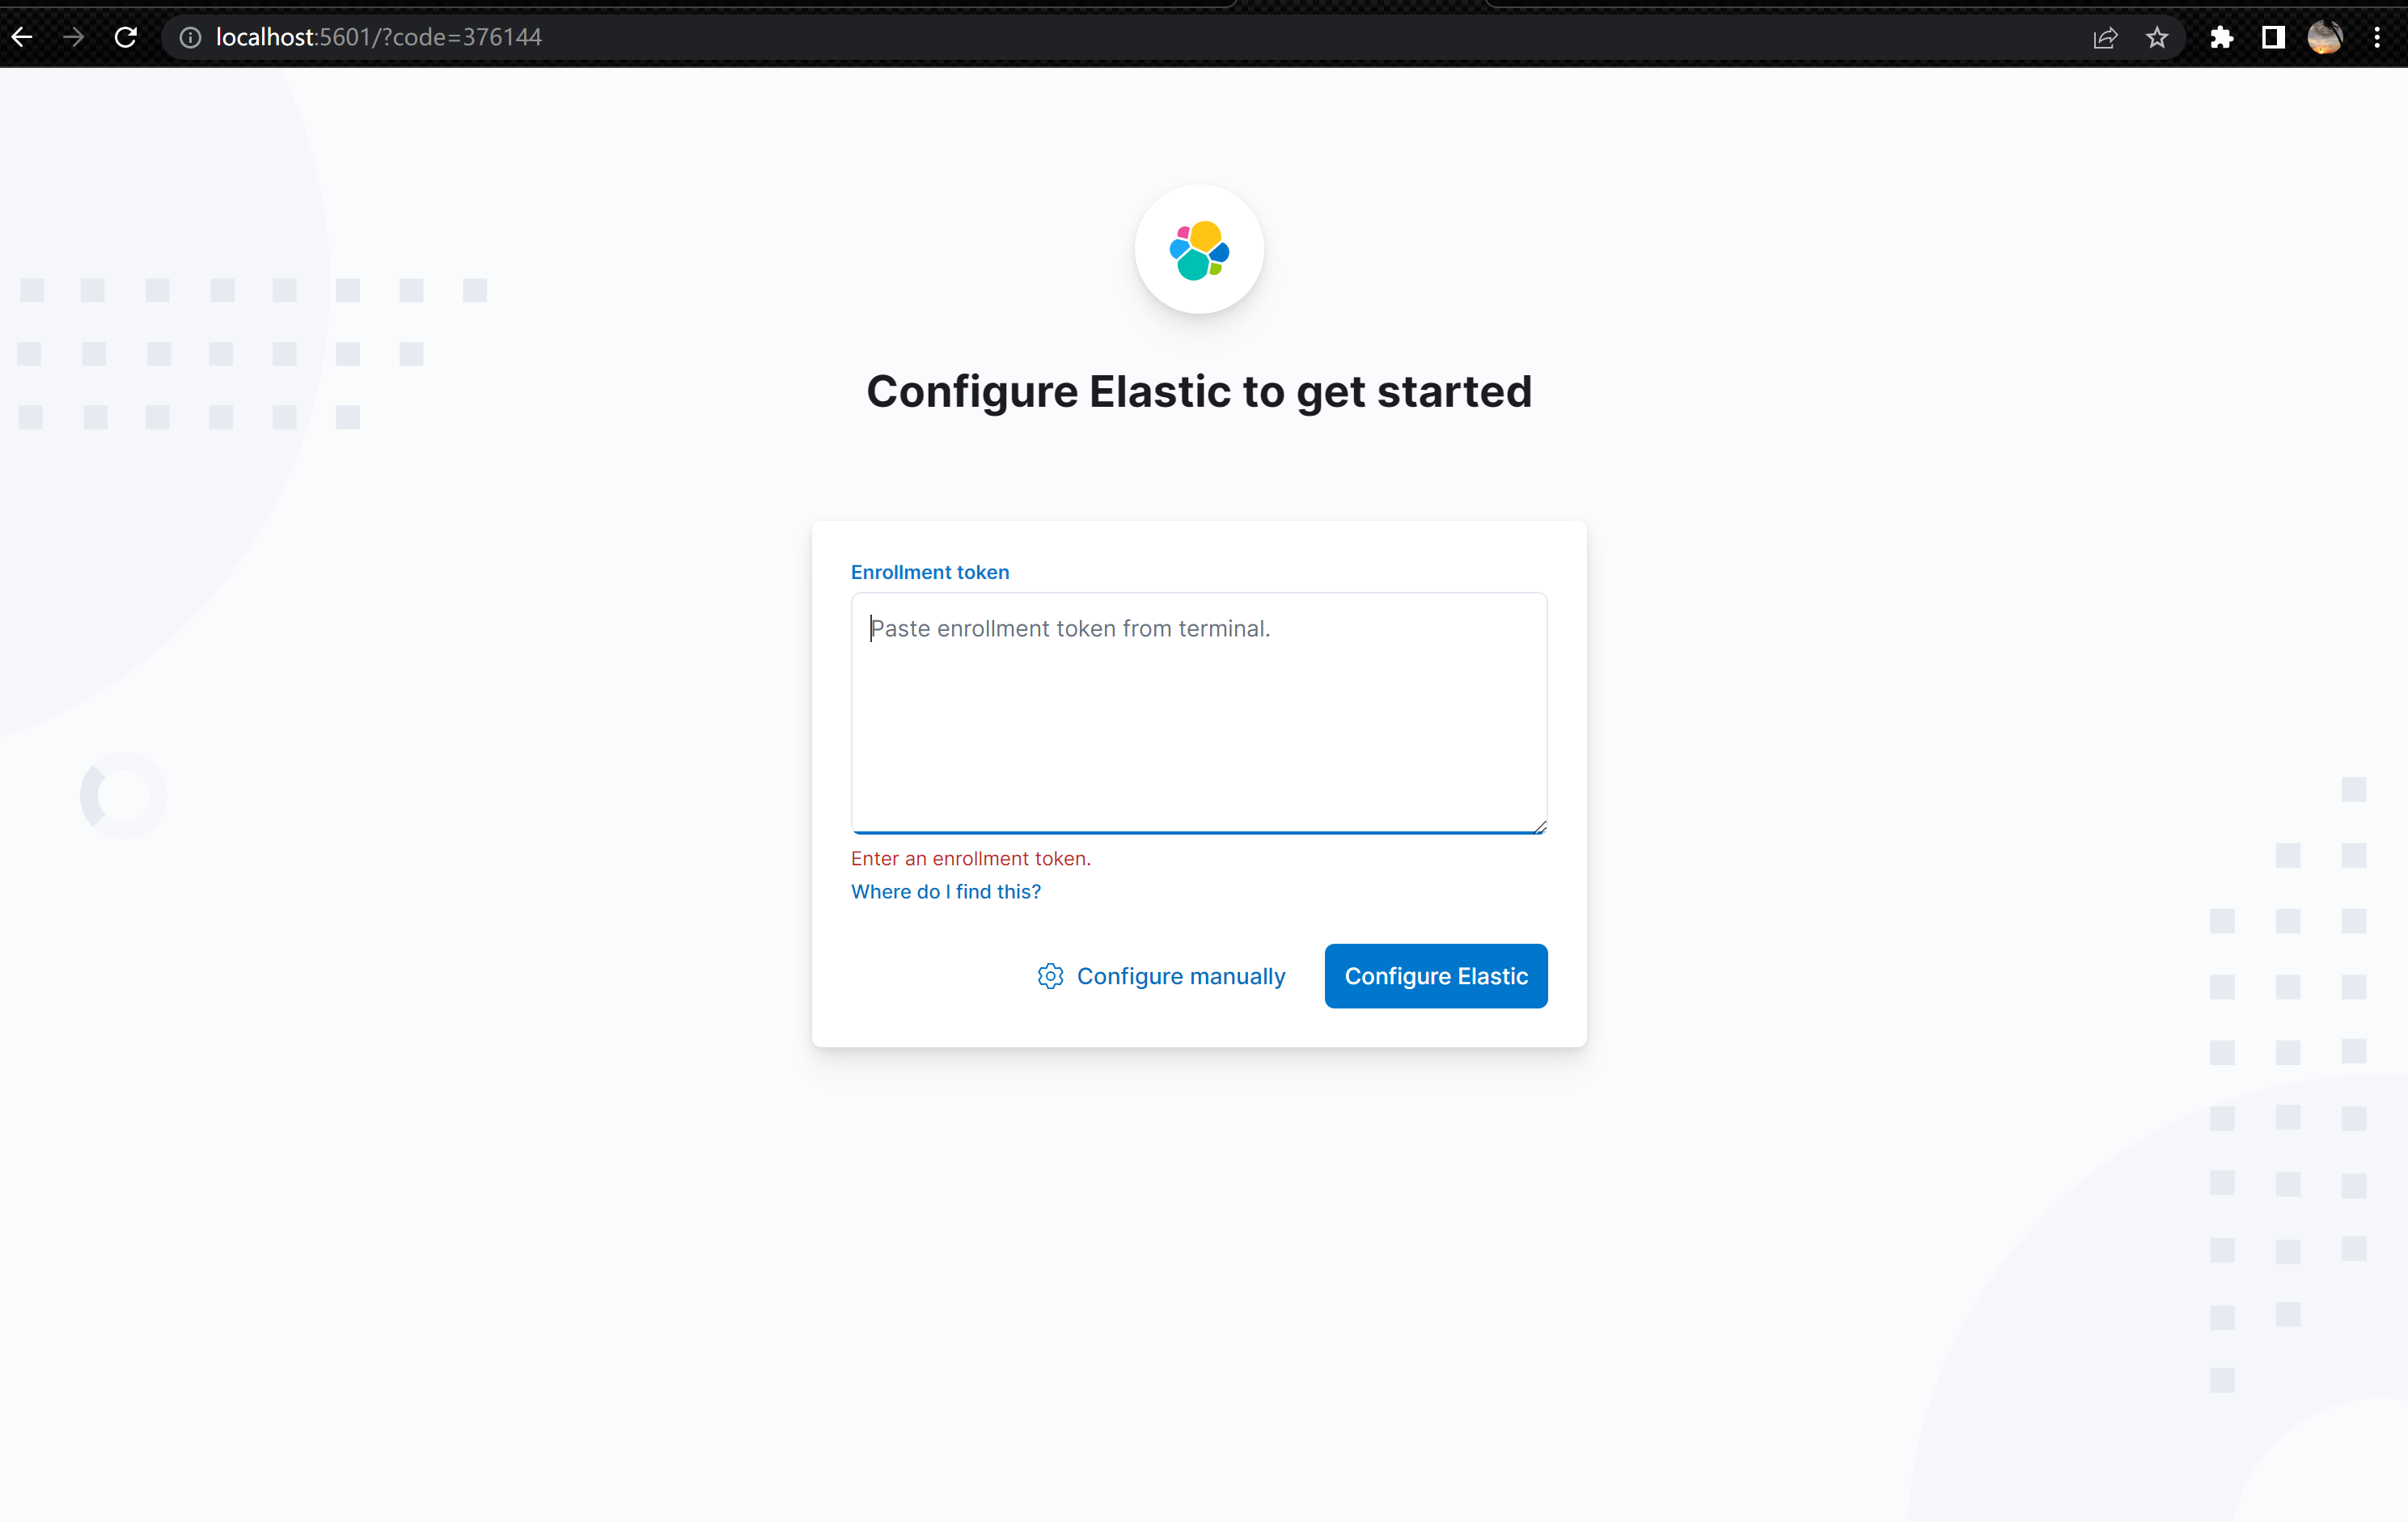
root@空痕影的matebook:~# docker exec -it es /bin/bash
elasticsearch@61ef5be570d0:~$ bin/elasticsearch-create-enrollment-token --s kibana
WARNING: Owner of file [/usr/share/elasticsearch/config/users] used to be [root], but now is [elasticsearch]
WARNING: Owner of file [/usr/share/elasticsearch/config/users_roles] used to be [root], but now is [elasticsearch]
eyJ2ZXIiOiI4LjIuMCIsImFkciI6WyIxNzIuMTcuMC4yOjkyMDAiXSwiZmdyIjoiYzUxZTI0OWRlYmQyNTIyNDY1ODFkZGZhMjZjMzEwY2Y1Njg4ZDllNjQ5M2E0MGNmYmU0MjUzZTk1OThhZjIyYSIsImtleSI6InVSQ1A2b0FCckRTX19GdGlXdWVZOkx1NHRwVDFoUlh1b2tSdUw3TGVRY1EifQ==
将生成的token输入到页面并点击configure Elastic
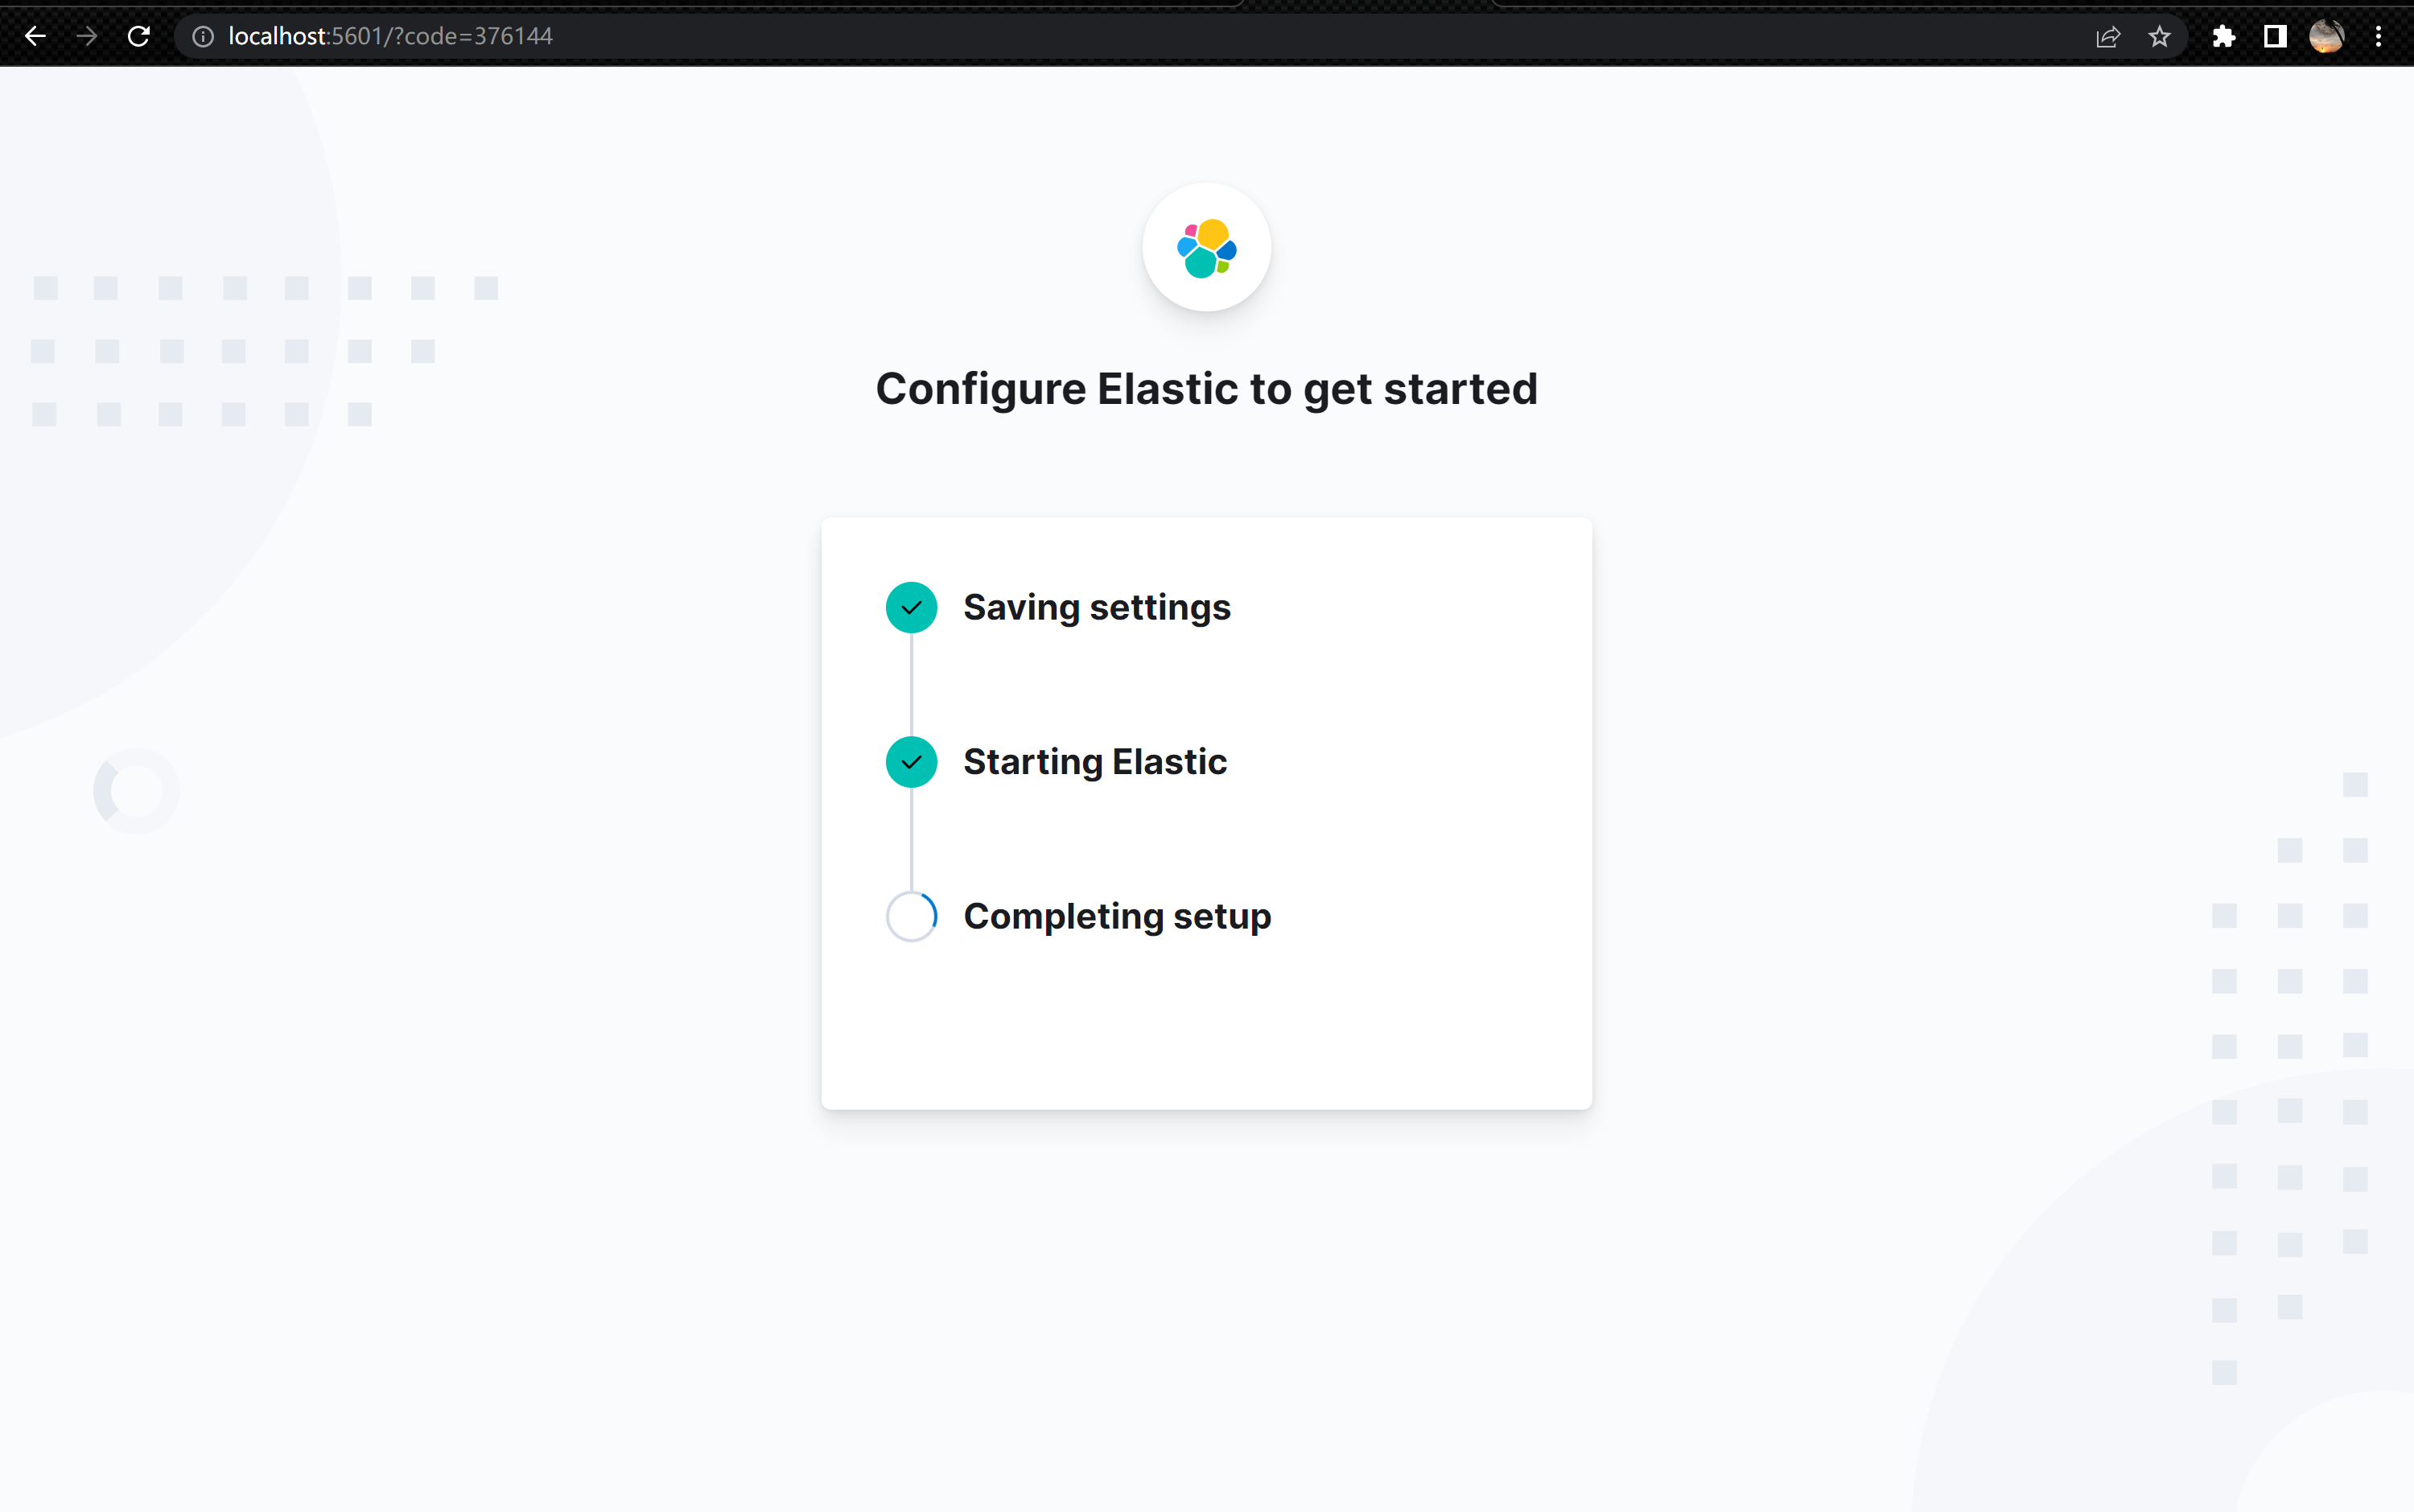
等到配置好后即可进入登入界面.但这时候我们不知道登入的账户/密码.需要再次生成.
root@空痕影的matebook:~# docker exec -it es /bin/bash
elasticsearch@61ef5be570d0:~$ ./bin/elasticsearch-reset-password  -u elastic
This tool will reset the password of the [elastic] user to an autogenerated value.
The password will be printed in the console.
Please confirm that you would like to continue [y/N]y


Password for the [elastic] user successfully reset.
New value: h_pTyICNVR+8nYpGf0Ny
创建出用户名为elastic,密码为h_pTyICNVR+8nYpGf0Ny的一个账户.
可在右上角自行更改密码.
更换中文
kibana在6.x之后就存在中文匹配.只需要在kibana.yml中设置默认语言为中文即可.
root@空痕影的matebook:~# docker exec -it kibana /bin/bash
kibana@1d29e930904f:~$ cd config/
kibana@1d29e930904f:~/config$ echo i18n.locale: "zh-CN" >> kibana.yml
这样就可以放心的测试使用了.